
Buttermilk Pancakes From Scratch That Actually Rise
My go-to buttermilk pancakes, plus the reason real buttermilk makes a taller, softer stack than milk and vinegar ever will.
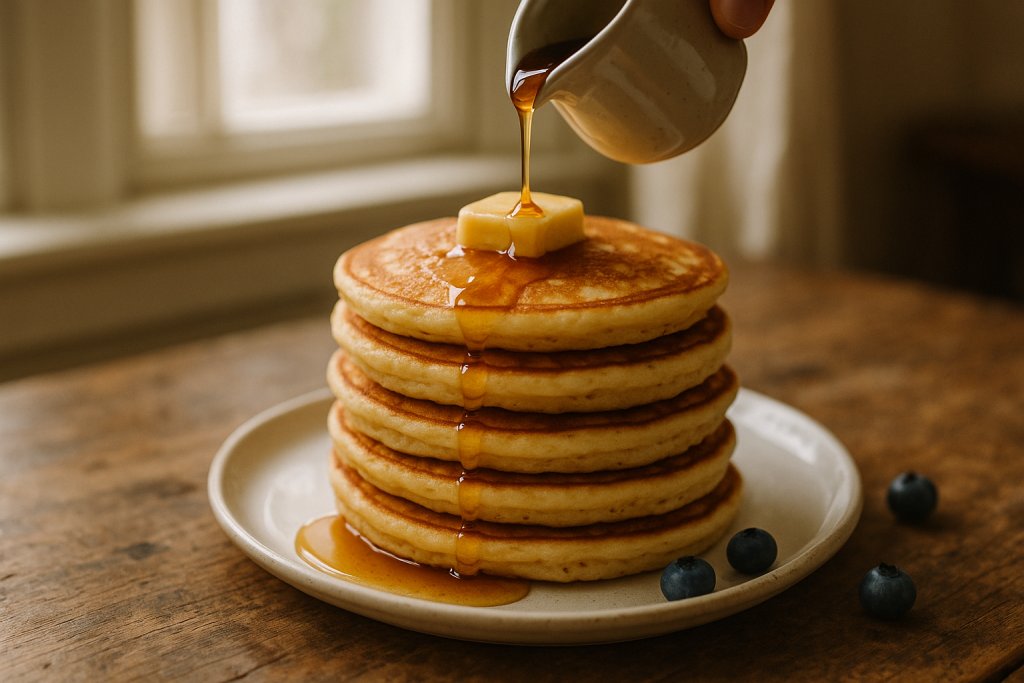
The difference between a sad flat pancake and a tall one you can see the layers in comes down to two things: buttermilk and a lumpy batter. I made pancakes with regular milk for years and thought mine were fine. They were not fine. They were thin, a little tough, and browned too fast on the outside.
This is the recipe I make most Saturday mornings, and it takes about as long as the griddle takes to heat.
Prep, cook, and yield
Prep time: 10 minutes. Cook time: 15 minutes. Total time: 25 minutes. Makes about 12 pancakes, roughly 4 inches across, which feeds 4 people with a side of fruit or bacon, or 2 people who are serious about pancakes.
Why buttermilk changes the pancake
Buttermilk is acidic. Baking soda is a base. When the two meet in the bowl, they react and release carbon dioxide, which is what inflates the batter and lifts the pancake while it cooks. Plain milk has no meaningful acid, so baking soda sitting in a milk batter does almost nothing. That is why a milk-based recipe leans on baking powder alone and usually comes out shorter.
The acid does a second job that nobody talks about. It softens the gluten strands in the flour, so the crumb stays tender even if you stirred a little too long. Buttermilk is also thicker than milk, and a thicker batter holds its shape on the griddle instead of spreading into a crepe. Taller batter, more lift, more tang.
One more thing in buttermilk’s favor: its slight sourness cuts the sweetness. Pancakes with syrup can get cloying fast. The tang gives you something to push against.
What you will need
- 2 cups (10 oz) all-purpose flour
- 2 tablespoons granulated sugar
- 2 teaspoons baking powder
- 1 teaspoon baking soda
- 3/4 teaspoon fine salt
- 2 cups buttermilk, well shaken
- 2 large eggs
- 3 tablespoons unsalted butter, melted and slightly cooled, plus more for the griddle
- 1 teaspoon vanilla extract (optional, but I use it)
Buy the real buttermilk in the carton next to the half and half. A quart costs about the same as a quart of milk and keeps for a couple weeks in the fridge, longer than you would expect, because it is already fermented.
How to make them
- Whisk the flour, sugar, baking powder, baking soda, and salt together in a large bowl. Do this part thoroughly. Baking soda clumps, and a clump that survives into a pancake tastes like soap.
- In a second bowl, whisk the buttermilk and eggs until smooth, then whisk in the melted butter and vanilla. If the buttermilk is cold straight from the fridge, the butter may seize into little flecks. That is fine. They melt on the griddle.
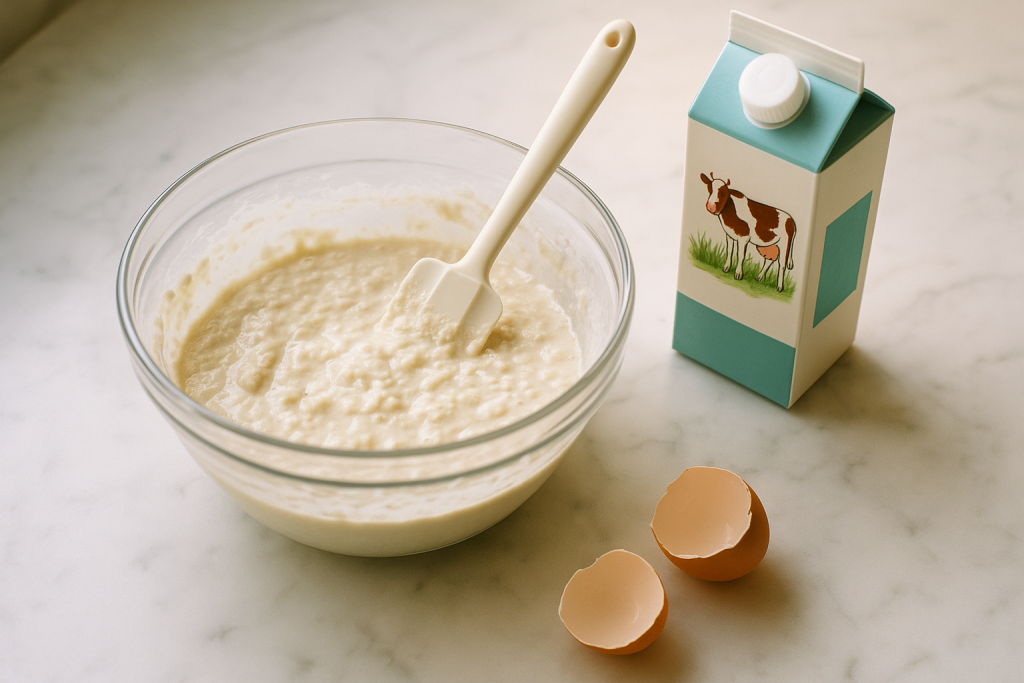
- Pour the wet into the dry. Stir with a rubber spatula just until no dry flour is left, about 10 to 15 strokes. The batter should look lumpy and a little shaggy. Stop there.
- Let the batter rest 10 minutes while the griddle heats. The flour hydrates, the lumps relax on their own, and the leavening gets a head start. You will see bubbles forming on the surface.
- Heat a griddle or large nonstick skillet over medium. Test it with a few drops of water: they should sizzle and skate, not vanish instantly. Rub the surface with a little butter and wipe off the excess with a paper towel.
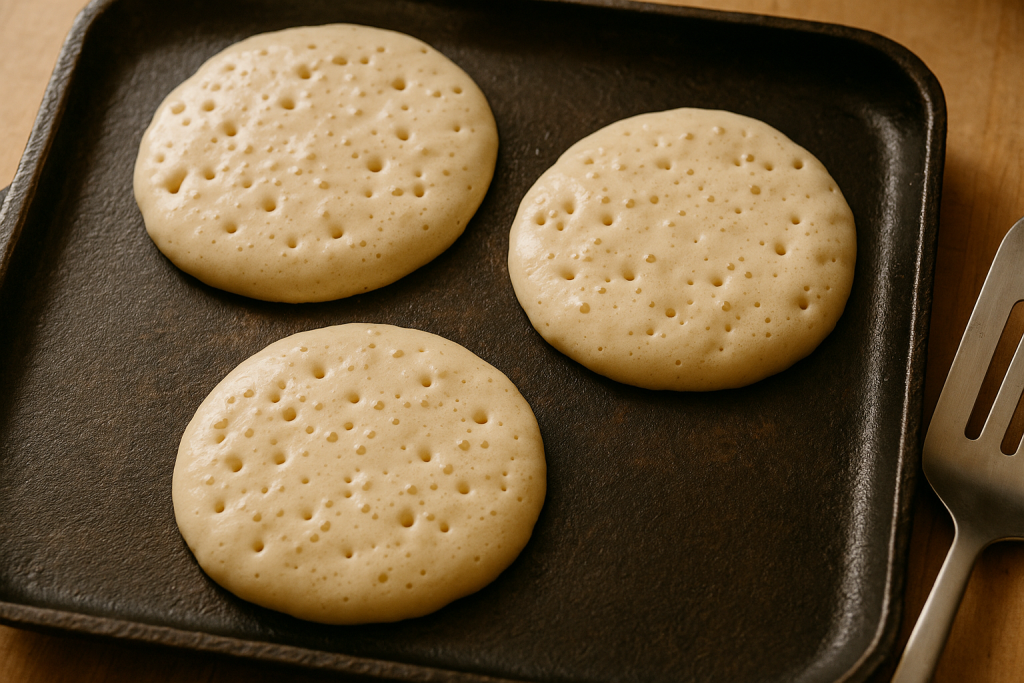
- Scoop a scant 1/4 cup of batter per pancake. Cook 2 to 3 minutes, until the edges look set and dry and bubbles break the surface and stay open. Flip once.
- Cook the second side 1 to 2 minutes, until golden. Press the center lightly with the spatula edge; it should spring back. Never flatten a pancake. You are pushing out the gas you just made.
- Hold finished pancakes on a wire rack set on a sheet pan in a 200°F (95°C) oven. A rack, not a plate, so steam escapes and the bottoms stay dry.
Where it usually goes wrong
Overmixing is the big one. A smooth, glossy batter means you built gluten, and gluten makes pancakes chewy and dense. Lumps are not raw spots. They hydrate during the rest and disappear while cooking.
Heat is the second one. Most people cook pancakes too hot because the first one browns quickly and that feels like progress. On medium-high the outside sets before the inside rises, and you get a dark pancake with a gummy middle. If your first pancake is dark brown in 90 seconds, turn the heat down a notch. Also, the first pancake is almost always a throwaway. The pan is still finding its temperature. I eat it standing at the stove.
Flipping more than once deflates them. So does pressing. So does letting the batter sit for 45 minutes while you do something else, because the baking soda reaction largely finishes in the bowl rather than in the pan. Ten minutes of rest is useful. An hour is not.
If you have no buttermilk
The milk-and-vinegar trick works, but be honest about what it does. Stir 1 tablespoon of white vinegar or lemon juice into 1 cup of milk and let it stand 5 minutes. You get the acid, so the baking soda still reacts. What you do not get is the thickness or the cultured flavor. The batter will be thinner and the pancakes a little flatter. It is a fine Plan B, not a tie.
Better substitutes, in the order I would reach for them: plain whole-milk yogurt thinned with milk to a pourable consistency, or kefir straight from the bottle, which is closest to the real thing. Sour cream thinned with milk also works. Powdered buttermilk is worth keeping in the pantry if you only make pancakes occasionally and hate pouring out half a carton.
If you use a substitute with no acid at all, like almond milk on its own, cut the baking soda to 1/4 teaspoon and bump the baking powder to 1 tablespoon. Otherwise you taste the leftover soda.
Variations worth doing
Blueberries: do not stir them in. Pour the batter, scatter 6 to 8 berries on top, then flip. Mixed-in berries bleed gray streaks through the whole batch and burst against the hot pan.
Chocolate chips go on the same way. Bananas should be sliced thin and pressed in lightly, or they stay raw and slippery in the middle.
For a slightly richer crumb, swap 1/4 cup of the flour for cornmeal. It adds a faint crunch at the edges that I like with maple syrup and a little flaky salt.
Storing and reheating
Cooled pancakes keep in an airtight container in the fridge for up to 3 days. To freeze, lay them flat on a sheet pan until solid, about an hour, then stack them with parchment between and bag them. They hold well for about 2 months.
Reheat straight from frozen in a toaster on medium, or in a 350°F (175°C) oven for 8 to 10 minutes on a wire rack. The microwave works in a pinch, 20 to 30 seconds, but the texture goes rubbery past that. Leftover batter is not worth saving overnight; the lift is gone by morning. Cook it all, and freeze the pancakes instead.
Keep cookingMore breakfast
All breakfast Breakfast
10 Tasty High Protein Breakfast Ideas for Meal Prep You’ll Love
A collection of ten high-protein breakfast ideas that are meal prep friendly, ensuring you start your day with …
50 min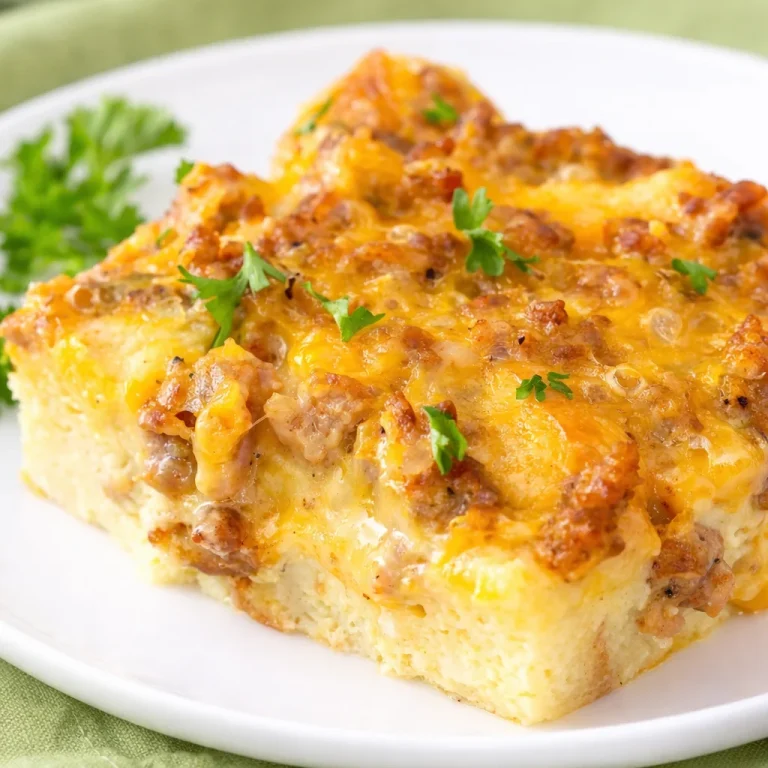 Breakfast
Deliciously Easy Simple Breakfast Casserole with Sausage
A cozy, filling breakfast casserole made with sausage, eggs, and bread that’s perfect for feeding a crowd or …
1 h 5 min BreakfastDeliciously Easy: The Best Homemade Waffle Recipe You’ll Love
These homemade waffles are crisp on the outside, fluffy on the inside, and easy to make with simple …
15 min