
The Only Roast Chicken Method You Need at Home
One chicken, one hot oven, no basting and no trussing. This is the roast chicken method I've made hundreds of times, with the temperatures and timing that keep the breast juicy.
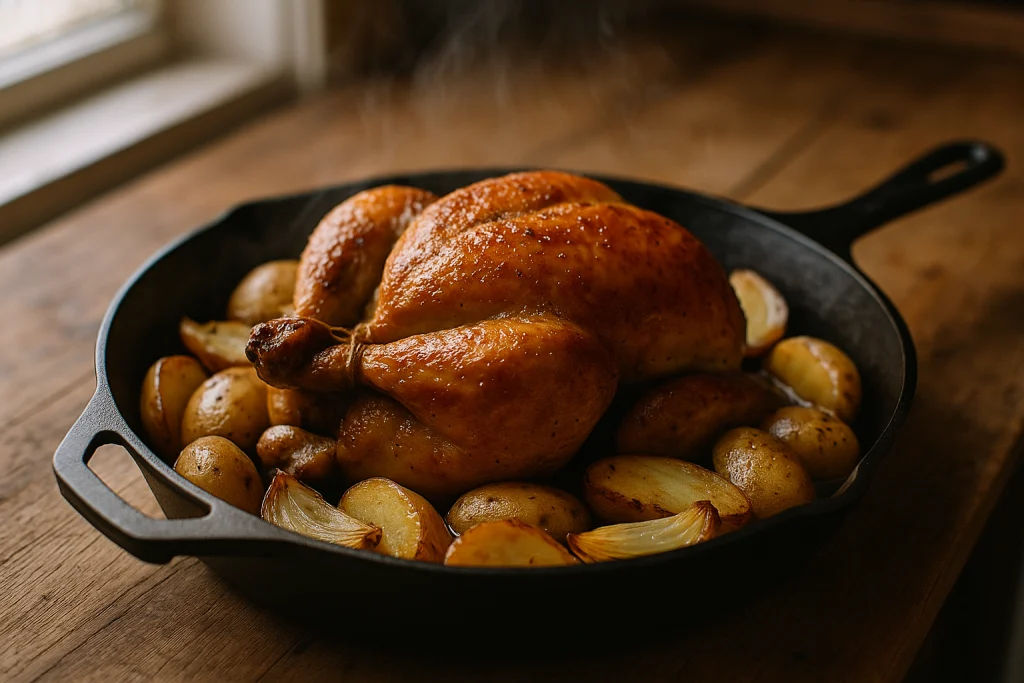
I roast a chicken almost every week, and I stopped fussing with it years ago. No trussing, no basting, no flipping it halfway. Just salt the day before, a hot oven, and a thermometer. That’s the whole thing, and it beats every complicated version I’ve tried.
Prep time: 10 minutes active, plus 12 to 24 hours uncovered in the fridge
Cook time: 55 to 75 minutes
Total time: about 1 hour 25 minutes on roasting day
Serves: 4, with leftovers if your chicken is on the bigger side
What you’ll need
- 1 whole chicken, 3 1/2 to 4 1/2 pounds
- 1 tablespoon kosher salt (use 2 teaspoons if yours is fine table salt)
- 1 teaspoon freshly ground black pepper
- 1 tablespoon olive oil or softened unsalted butter
- 1 lemon, halved
- 4 garlic cloves, smashed, skins on
- A few sprigs of thyme or rosemary, whatever you have
- 1 1/2 pounds small potatoes, halved, or 2 large onions cut into thick wedges (optional, for under the bird)
That’s it. No twine, no roasting rack, no basting bulb.
The salt goes on the day before
This is the one step that separates a good roast chicken from a great one, and it takes four minutes. Pat the chicken completely dry with paper towels, inside and out. Sprinkle the salt and pepper over every surface, including the back and a pinch inside the cavity. Set it on a plate or small sheet pan, breast side up, and put it in the fridge uncovered for at least 12 hours and up to 24.
The salt pulls moisture out of the skin, then that seasoned moisture gets reabsorbed into the meat. The skin dries out. Dry skin is crisp skin, every time. If you skip this and roast it the same day, salt it right before it goes in the oven and expect skin that browns but never fully crackles.
Eight hours is better than nothing. Two days is too long and the meat starts to taste cured.
Roasting it
- Take the chicken out of the fridge 30 to 45 minutes before roasting. Heat the oven to 425°F (220°C) with a rack in the lower third.
- Don’t rinse the bird, and don’t wipe off the salt. Rub the skin all over with the oil or softened butter. Tuck the wing tips behind the shoulders so they don’t burn.
- Put the lemon halves, garlic, and herbs in the cavity. Squeeze one lemon half a little first so it releases some juice as it heats.
- If you’re using potatoes or onions, toss them with a little oil and salt and spread them in a 12-inch cast iron skillet or a sheet pan. Set the chicken right on top, breast side up. No rack needed, the vegetables become the rack.
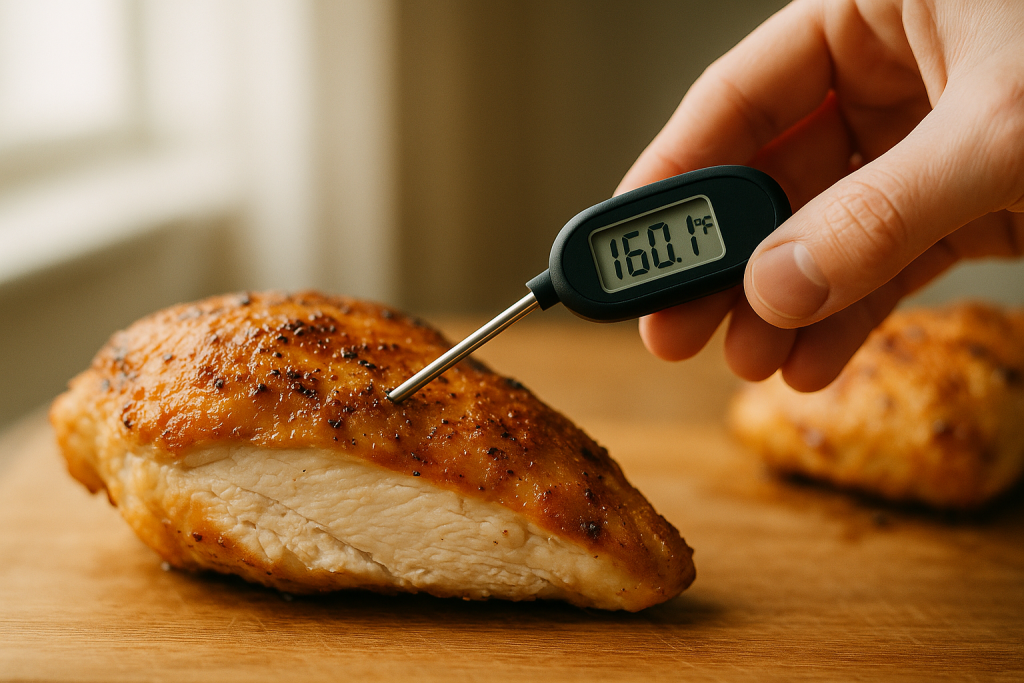
- Roast for 50 minutes, then start checking. The chicken is done when the thickest part of the breast reads 157°F and the thigh, close to but not touching the bone, reads 170°F or higher. Most 4-pound birds land there between 55 and 70 minutes.
- Move the chicken to a cutting board and let it rest 15 minutes before carving. Leave the vegetables in the pan and slide them back into the oven while it rests if they need more color.
Why 157°F and not 165°F
The 165°F number you see everywhere is the temperature at which salmonella is killed instantly. It’s also the temperature at which chicken breast turns chalky. What most people don’t know is that the same safety level is reached by holding the meat at a lower temperature for a longer stretch. At 157°F, that takes under a minute, and the breast carries over another 5 to 8 degrees while it rests on the counter.
So pull the breast at 157°F, rest it, and you get meat that’s fully safe and still juicy. The thighs are different: dark meat has more connective tissue and tastes better at 170 to 175°F, so don’t panic when the thigh reads higher than the breast. That gap is normal and it’s why the breast goes on top, away from the hottest part of the pan.
Check the breast by going in from the side, parallel to the cutting board, aiming for the center of the thickest part. Going straight down from the top is how people end up hitting bone and reading 190°F on a raw bird.
Where it usually goes wrong
The chicken went in wet. Even after a dry brine, if there’s condensation on the skin, pat it once more before oiling. Water steams, and steam is the enemy of crackle.
The oven was too crowded. If you pile a full pound and a half of potatoes right up against the sides of the bird, they trap moisture and the lower half of the chicken stays pale. Leave an inch of clear pan around the base.
The bird was too big. A 6-pound roaster at 425°F browns long before the thighs are cooked. If your chicken is over 5 pounds, drop the oven to 400°F (205°C) and plan on 90 minutes or more. Under 5 pounds, stay at 425°F.
It wasn’t rested. Carve it straight out of the oven and the juices run onto the board instead of staying in the meat. Fifteen minutes is the minimum. Thirty is fine, the chicken will still be plenty hot.
Pan sauce in five minutes
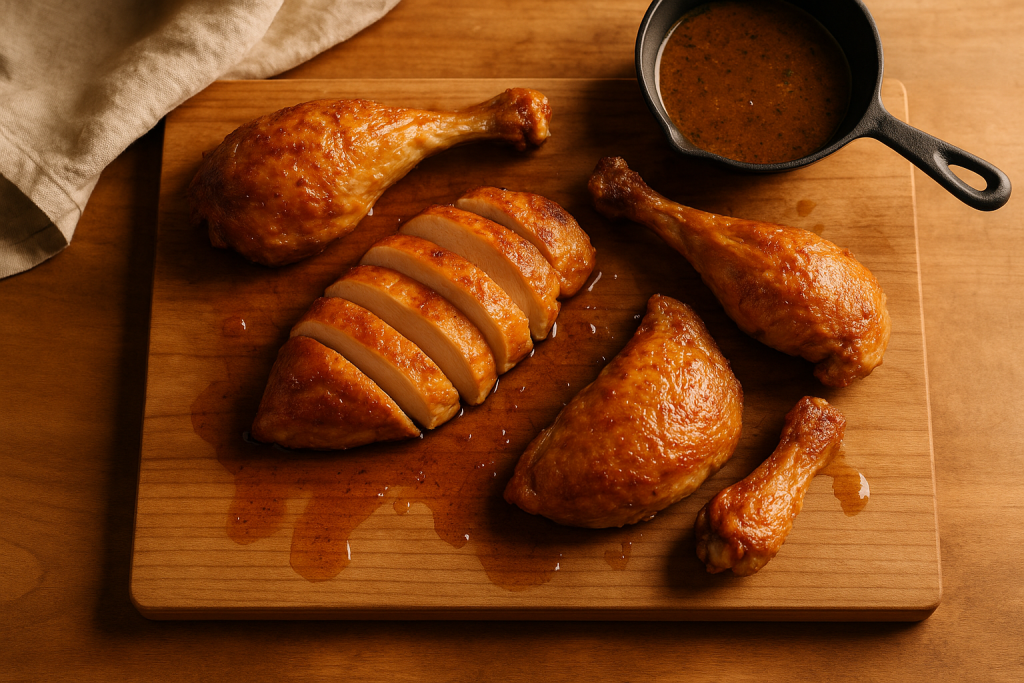
While the chicken rests, tip the vegetables out of the pan into a bowl. Pour off all but about a tablespoon of fat, set the pan over medium heat, and add a splash of white wine, chicken broth, or even water. Scrape up the browned bits with a wooden spoon, let it bubble down by half, then squeeze in the roasted lemon from the cavity and swirl in a tablespoon of cold butter off the heat. Salt to taste. It’s not a real gravy, but it takes five minutes and it’s better than anything from a jar.
Swaps that actually work
No fresh herbs? Skip them rather than substituting dried inside the cavity, where they won’t do much. Rub 1/2 teaspoon of dried thyme into the skin with the oil instead.
No lemon? An orange half works, or a quartered onion. The cavity aromatics are a small effect either way, so don’t make a shopping trip for them.
Want it spiced? Add 2 teaspoons of smoked paprika and 1 teaspoon of garlic powder to the salt mix on brining day. The paprika deepens the color, so start checking the skin at 45 minutes.
For the pan, cast iron gives the best browning on the vegetables. A rimmed sheet pan is second best. Avoid a deep roasting pan with tall sides unless you’re cooking for a crowd, because the walls block airflow and the lower half of the bird steams.
Carving and leftovers
Cut through the skin between the leg and the breast, bend the leg back until the joint pops, and cut through it. Do the same on the other side, then separate thigh from drumstick. For the breast, run your knife down along one side of the breastbone and follow the rib cage down, taking the whole half off in one piece, then slice it crosswise. Slices hold their juice better than shredding.
Refrigerate leftover meat within two hours of it coming out of the oven, in a covered container, and eat it within three to four days. It reheats best covered with a spoonful of broth at 300°F (150°C) for 10 to 15 minutes, or gently in a skillet. The microwave dries breast meat out fast, so if that’s your route, use short bursts of 30 seconds and stop while it’s just warm.
Save the carcass. Throw it in a pot with an onion, a carrot, a celery stalk, and enough water to cover by an inch, simmer it uncovered for 3 hours, and strain. That stock freezes for three months and it’s the best reason to roast a whole bird instead of buying parts.
Keep cookingMore chicken
All chicken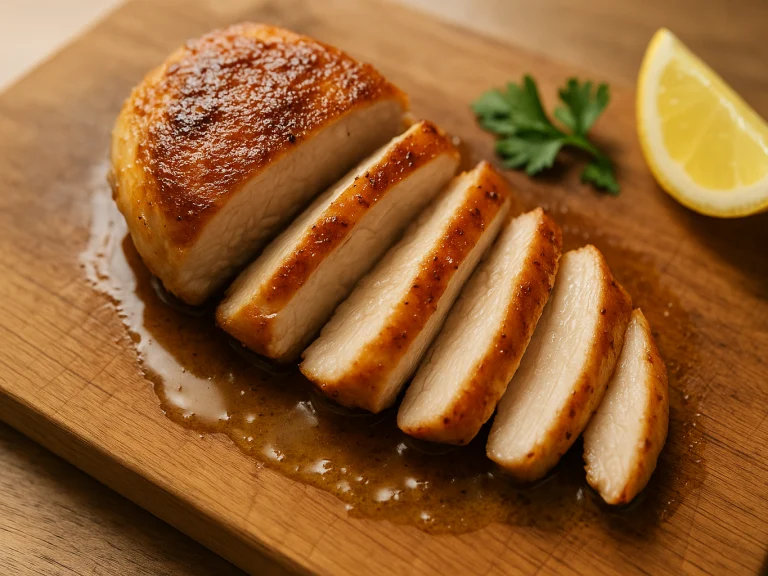 Chicken
Juicy Chicken Breast: The Brine and Sear That Fixed It
I ruined a lot of chicken breasts before I stopped blaming the recipe and fixed the three things …
45 min Chicken
Crispy Chicken Thighs in a Cast Iron Skillet
Bone-in, skin-on thighs start skin-side down in a cold skillet, finish in the oven, and come out with …
10 min Chicken
Sheet Pan Chicken and Vegetables That Roast Evenly
The problem with sheet pan dinners isn't the recipe, it's the timing. Here's how I stagger the pan …
1 h