For years I blamed the chicken. Different brand, different marinade, more oil, less oil, and it still came out chalky in the middle of the thick end. What finally fixed it was not a marinade at all. It was flattening the breast so it cooks evenly, a short salt brine, and an instant-read thermometer so I stop guessing.
This is the version I make on a Tuesday when dinner needs to be on the table in half an hour. Nothing here needs special equipment beyond a skillet with a lid and a thermometer.
Prep time: 10 minutes, plus 20 minutes brining. Cook time: 12 to 16 minutes. Total time: about 45 minutes. Serves: 4.
Why chicken breast goes dry in the first place
Chicken breast has almost no fat and no connective tissue to hide behind. The muscle fibers squeeze out moisture as they heat, and past about 165°F they keep squeezing. Thighs forgive you. Breasts do not.
The other problem is shape. A supermarket breast is often an inch and a half thick at one end and half an inch at the tip. By the time the thick end is safe, the thin end has been overcooked for five minutes. That is the dryness most people taste, and no amount of buttermilk or Italian dressing fixes it. Even thickness does.
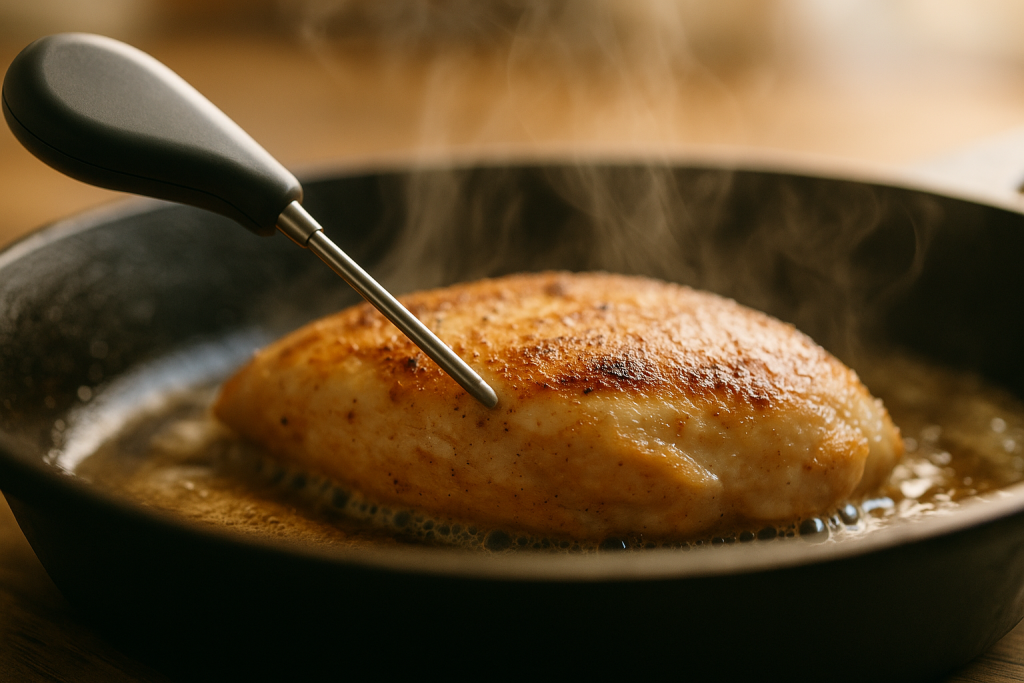
The USDA number to hit is 165°F in the thickest part. I pull mine off the heat at about 157 to 160°F and let carryover heat and a five-minute rest carry it the rest of the way, which is how I get juice on the cutting board instead of a dry seam through the middle.
What you will need
- 2 large boneless, skinless chicken breasts (about 1 1/2 pounds total)
- 4 cups cold water
- 1/4 cup kosher salt (or 2 tablespoons table salt)
- 1 tablespoon olive oil or other neutral oil
- 1 tablespoon unsalted butter
- 1/2 teaspoon garlic powder
- 1/2 teaspoon onion powder
- 1/2 teaspoon smoked or sweet paprika
- 1/4 teaspoon black pepper
- 1/4 teaspoon salt, only if you skipped the brine
That spice mix is what I keep on hand. Swap in whatever you like, but keep the total amount similar so the surface still browns instead of steaming under a thick paste.
How I cook it
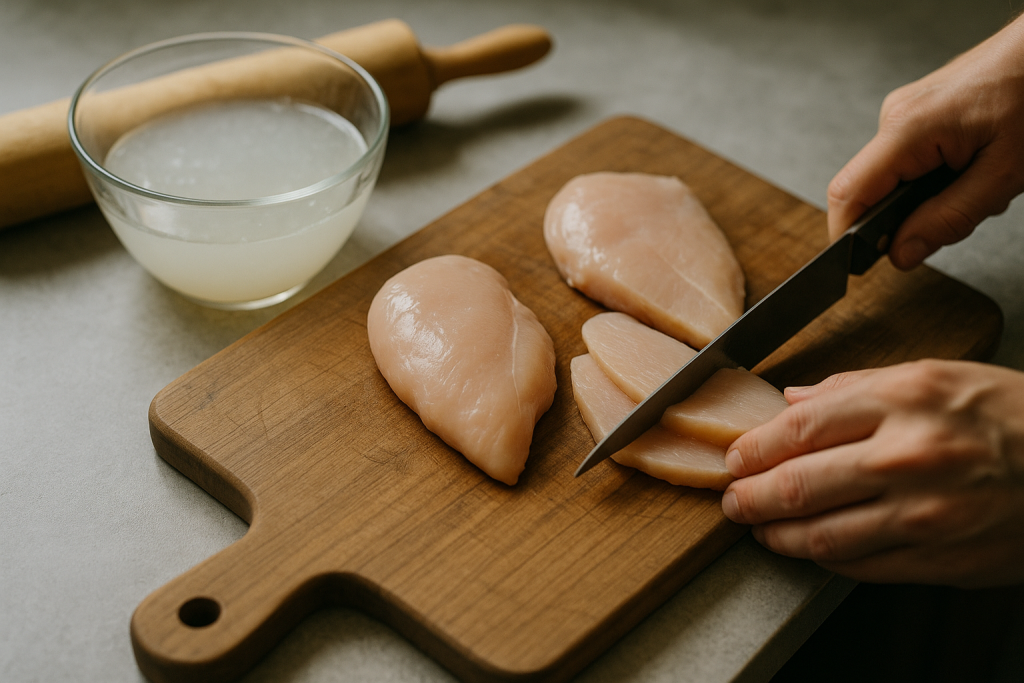
- Halve the breasts horizontally. Lay a breast flat, hold your palm on top, and slice through it edgewise with a sharp knife to make two thinner cutlets. You now have four pieces, each about 3/4 inch thick. If one piece is still lopsided, put it between two sheets of plastic wrap or in a zip-top bag and give the thick end a few taps with a rolling pin or the flat side of a meat mallet.
- Brine for 20 to 30 minutes. Stir the salt into the cold water in a bowl until it dissolves, add the chicken, and leave it on the counter for 20 minutes or in the fridge for up to 30. Do not go longer with thin cutlets or they turn spongy and taste like ham.
- Dry the surface properly. Take the chicken out, rinse briefly, and pat every side very dry with paper towels. Wet chicken steams; dry chicken browns. This step takes 30 seconds and makes a bigger difference than the oil you use.
- Season and rest at room temperature. Mix the garlic powder, onion powder, paprika and pepper, and rub it over both sides. Let the cutlets sit out for 10 minutes while the pan heats. Cold chicken straight from the fridge cooks unevenly.
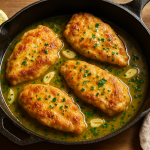
- Sear hard, once. Heat the oil in a 12-inch skillet over medium-high until it shimmers. Lay in the cutlets without crowding, work in two batches if you have to, and leave them alone for 4 to 5 minutes. When the edges look opaque and the underside is deep golden, flip.
- Drop the heat and cover. Add the butter, turn the heat down to medium-low, and put a lid on the pan. Cook another 4 to 6 minutes. The lid traps a little steam and finishes the inside gently so the outside does not keep hardening.
- Check the temperature, not the clock. Push the thermometer into the thickest part from the side. At 157 to 160°F, take the pan off the heat. If a piece reads 150°F, cover it again for another minute and check the same spot.
- Rest 5 minutes, then slice against the grain. Move the chicken to a plate or board and tent it loosely with foil. It will climb to 165°F while it sits. Spoon the pan butter over the slices before serving.
The oven version, and when I use it
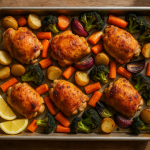
If I am cooking six or eight cutlets for the week, the skillet is too slow. I brine and season the same way, arrange the cutlets on a sheet pan with a little oil, and roast at 425°F (220°C) for 15 to 20 minutes, checking at 15. Same target temperature, same rest. High heat and thin cutlets, not 350°F for 40 minutes, which is how chicken breast turns to cardboard.
The skillet still wins on flavor because of the browned crust and the butter, so that is my default for four servings or fewer.
Tips that made the biggest difference
Buy a cheap instant-read thermometer. It costs less than two packs of chicken and it is the only thing in this whole post you cannot substitute. Poking and cutting to check tells you nothing until the juice has already run out.
Do not crowd the pan. Two cutlets in a 12-inch skillet, four only if they are small and not touching. Chicken packed edge to edge drops the pan temperature and steams in its own moisture, and you get gray meat with no crust.
If you skipped the brine because you got home late, salt the cutlets directly instead: 1/4 teaspoon salt per piece, rubbed in, 10 minutes on the counter while the pan heats. It is not as good as the brine but it is far better than salting at the table.
Skip acidic marinades that sit for hours. Lemon juice, vinegar and yogurt-heavy marinades start cooking the surface and can leave the outer layer mushy and stringy. If I want lemon, it goes on after slicing.
Substitutions
Chicken tenders work with the same method, but cut the covered time to 2 or 3 minutes and start checking early. Bone-in split breasts are a different recipe: they need the oven and roughly 35 to 45 minutes at 425°F (220°C), still to 165°F near the bone. Thighs do not need the brine at all, and they are happier cooked to 175°F where the connective tissue softens.
Butter can be swapped for more olive oil if you keep dairy out, and any pantry spice blend can replace mine. Table salt is fine in the brine, just use half the volume of kosher salt.
Storing and reheating
Get leftovers into the fridge within two hours of cooking. Sliced or whole, they keep 3 to 4 days in an airtight container. I leave the pieces whole if I can, because slices dry out faster.
Reheating is where good chicken usually dies. I put the pieces in a skillet with a splash of chicken broth or water, cover, and warm over low heat for 3 to 5 minutes until just hot. In the microwave, cover the plate, use 50 percent power, and check every 30 seconds. Or do not reheat it at all: cold sliced chicken on a salad, in a wrap or over rice with a spoonful of dressing is the reason I cook extra in the first place.
For the freezer, cool the chicken completely, wrap tightly and freeze up to 3 months. Thaw overnight in the fridge, never on the counter, and expect it to be a little drier than fresh, which is why I freeze it already sliced for soups and casseroles rather than as a standalone dinner.