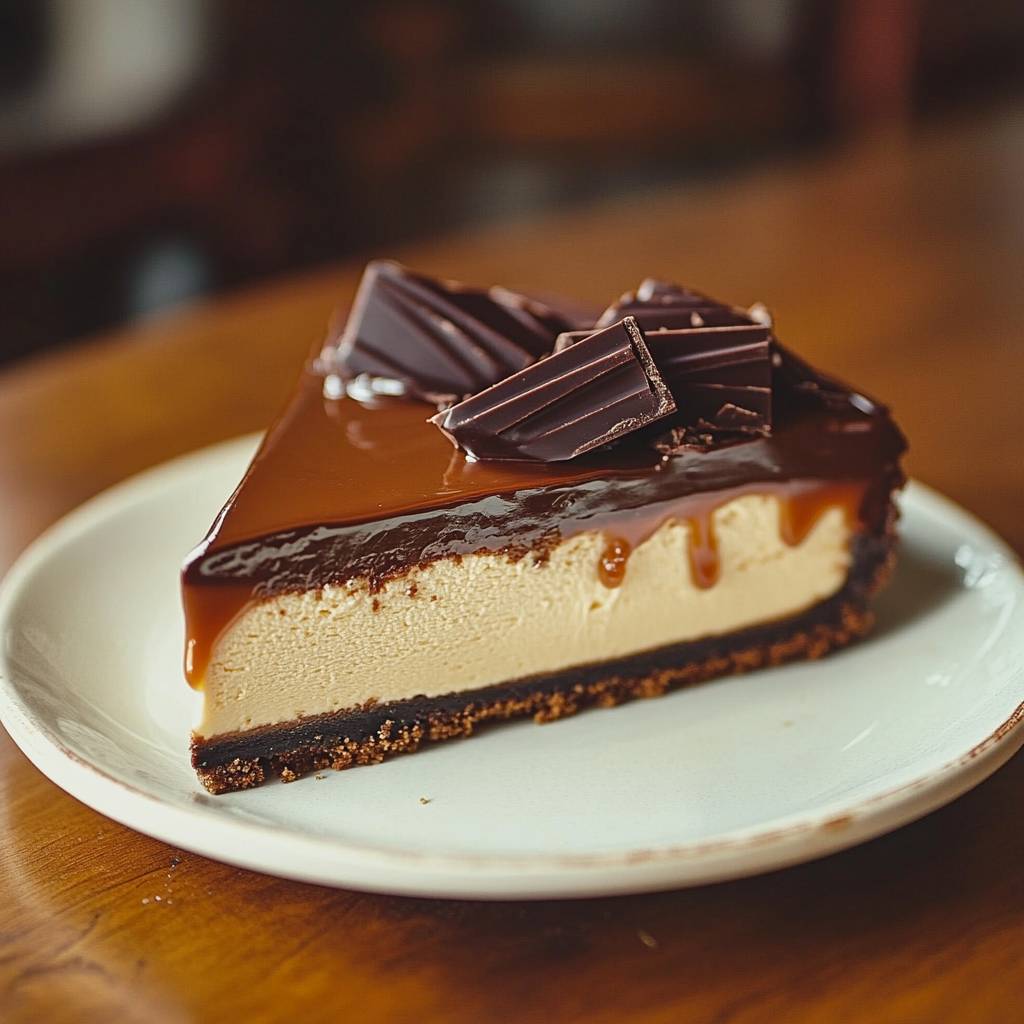
Are you ready to dive into a dessert that will make your taste buds dance? This Chocolate Caramel Twix Cheesecake is rich, creamy, and bursting with flavor. Perfect for any occasion, this cheesecake combines the deliciousness of Twix bars with smooth cream cheese and gooey caramel. Trust me; once you try it, you’ll be hooked!
Why Make This Recipe
This cheesecake is an absolute crowd-pleaser, making it great for family gatherings, potlucks, or just a special dessert at home. It’s rich and indulgent, and the combination of chocolate, caramel, and Twix makes it stand out. Plus, it’s a fun treat that everyone will love, and it’s surprisingly easy to make!
How to Make Chocolate Caramel Twix Cheesecake
Ingredients:
For the crust:
- 1 1/2 cups crushed Twix bars (about 10-12 bars)
- 1/2 cup unsalted butter, melted
For the cheesecake filling:
- 4 (8 oz) packages cream cheese, softened
- 1 cup granulated sugar
- 1 teaspoon vanilla extract
- 4 large eggs
- 1 cup sour cream
For the caramel layer:
- 1 cup caramel sauce
For the chocolate ganache:
- 1 cup chocolate chips (semisweet or milk chocolate)
- 1/2 cup heavy cream
Additional:
- Crushed Twix bars for topping (optional)
Directions:
-
Preheat the oven to 325°F (163°C).
-
Prepare the crust: In a mixing bowl, combine crushed Twix bars and melted butter until well combined. Press the mixture into the bottom of a springform pan to create a crust. Bake for 10 minutes, then let it cool.
-
Prepare the cheesecake filling: In a large mixing bowl, beat the cream cheese until smooth. Add sugar and vanilla extract, mixing until fully combined. Now, add eggs one at a time, mixing well after each addition. Finally, mix in the sour cream until smooth and creamy.
-
Pour half of the cheesecake filling over the cooled crust. Drizzle half of the caramel sauce over the filling. Pour the remaining cheesecake filling on top and drizzle the rest of the caramel sauce.
-
Bake the cheesecake in the preheated oven for 55-65 minutes or until the center is set but slightly jiggly. Turn off the oven, crack the door, and let the cheesecake cool in the oven for 1 hour.
-
After cooling, refrigerate the cheesecake for at least 4 hours or overnight.
-
Prepare the chocolate ganache: In a small saucepan, heat the heavy cream until just simmering. Pour it over the chocolate chips in a bowl and let it sit for a few minutes. Stir until smooth and glossy.
-
Pour the chocolate ganache over the chilled cheesecake, spreading it evenly.
-
Optional: Top with crushed Twix bars for garnish.
-
Slice and serve chilled.
How to Serve Chocolate Caramel Twix Cheesecake
Serve this cheesecake chilled, and if you want to make it extra special, add a dollop of whipped cream and a sprinkle of crushed Twix bars on top. Everyone will love it!
How to Store Chocolate Caramel Twix Cheesecake
Store any leftover cheesecake in an airtight container in the fridge. It will stay good for about 4-5 days. If you want to freeze it, wrap it tightly in plastic wrap and then foil. It can last up to 3 months in the freezer.
Tips to Make Chocolate Caramel Twix Cheesecake
- Make sure your cream cheese is at room temperature; it mixes better that way.
- Don’t skip the chilling time; it helps the flavors meld and the cheesecake to set perfectly.
- You can use different types of chocolate chips for the ganache, like dark or white chocolate, to switch things up!
Variation
Feel free to mix in some chopped nuts or other candy bars into the filling for a fun twist. You can also replace Twix with other chocolate bars if you’d like a different flavor!
FAQs
-
Can I use light cream cheese?
- Yes, but the texture may be slightly different. Full-fat cream cheese gives the best results.
-
How should I cut the cheesecake?
- Use a sharp knife dipped in hot water for clean slices. Wipe the knife after each cut!
-
Can I make this cheesecake ahead of time?
- Absolutely! It’s perfect to make a day or two in advance. Just store it in the fridge until you’re ready to serve.

